Bolt On Kickstand Foot
General Instructions:
Keep the top plate even with the bottom plate when tightening the bolts. Just compress the lock washers, don't bend the top plate by over-tightening the bolts. The bolts only have to hold the two pieces in place when the sidestand is up.
Keep the top plate even with the bottom plate when tightening the bolts. Just compress the lock washers, don't bend the top plate by over-tightening the bolts. The bolts only have to hold the two pieces in place when the sidestand is up.
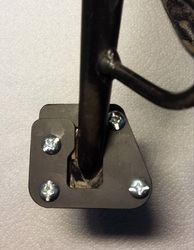
DL650 Bolt-on Side/Kickstand Foot
Note the orientation of the kickstand plate in this picture. Click to enlarge.
The stand leg is offset to the right.
Keep the top plate even with the bottom plate when tightening the bolts. Just compress the lock washers, don't bend the top plate by over-tightening the bolts..
Keep the top plate even with the bottom plate when tightening the bolts. Just compress the lock washers, don't bend the top plate by over-tightening the bolts..
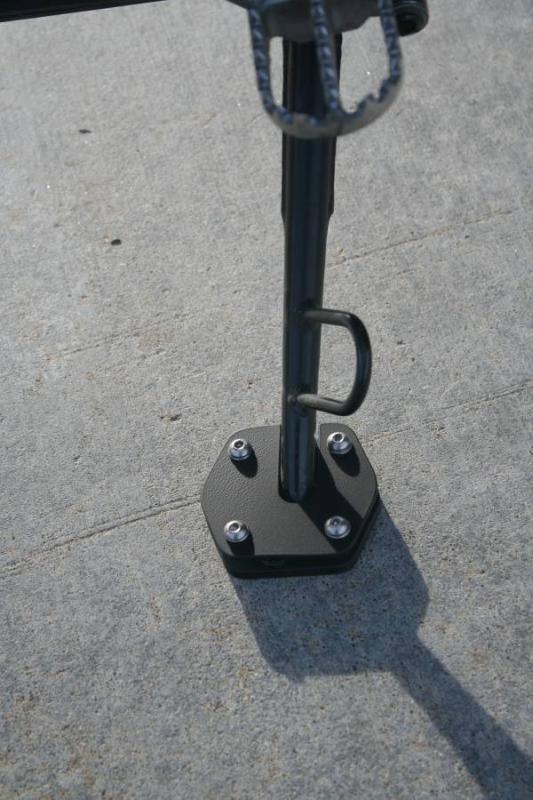
DL1000 Bolt-on Side/Kickstand Foot
Note the orientation of the plates in the picture.
When the side stand is down the opening is toward the bike. The angle edge faces to the rear of the bike when the sidestand is down and is the side closest to the exhaust pipe when the stand is up.
The top plate extends past the edge of the bottom plate on the left side and front as shown in the picture above. This is normal. Insert the two left bolts and bottom right bolt (as shown in the picture) into the top plate and screw each bolt about two threads into the bottom plate. This will allow you to slide the plates onto the side stand foot. Insert the fourth bolt.
Two points about the adjustment of the side stand foot position are important.
With the side stand down, position the side stand foot as far forward (toward the front of the bike) as possible to maximize clearance between the side stand foot and the exhaust pipe.
Position the side stand foot as far in toward the bike as possible to maximize clearance with center stand.
When it is positioned properly snug up all four bolts. It is not necessary to torque the bolts. Just snug them up evenly without bending the top plate.