- Home
- Parts by Type
- Parts by Bike
-
Installation Instructions and Videos
-
V-Strom Parts Instructions
>
- Mirror Extender Instructions
- Fork Brace Instructions
- Footpeg and Control Lowering Instructions
- Gear Shift Relocation Instructions
- Bolt-on Kickstand Foot Instructions
- Raising and Lowering Links >
- Shelves and GPS Mounts >
- DL1000 Rear Wheel Spacer Instructions
- Vee2 Saddlebag Guard
- Fender Riser 2014+ DL1000
- 2012+ DL650Fender Risers
- Retrieving Missing Parts from the Cowling
- Auxiliary Lighting >
- DL800 GIVI Crash Bars
- General Electrical and Lighting >
- Brake Lines >
- Kawasaki Versys X300 >
- Yamaha Parts Instructions >
-
V-Strom Parts Instructions
>
- Shorter/Taller Riders
- Favorite Projects
- Adventure Motorcycling Links
- Frequently Asked Questions
- Contact Us
- Photos
- Specials and Promotions
Gen 1 V-Strom Light Bar
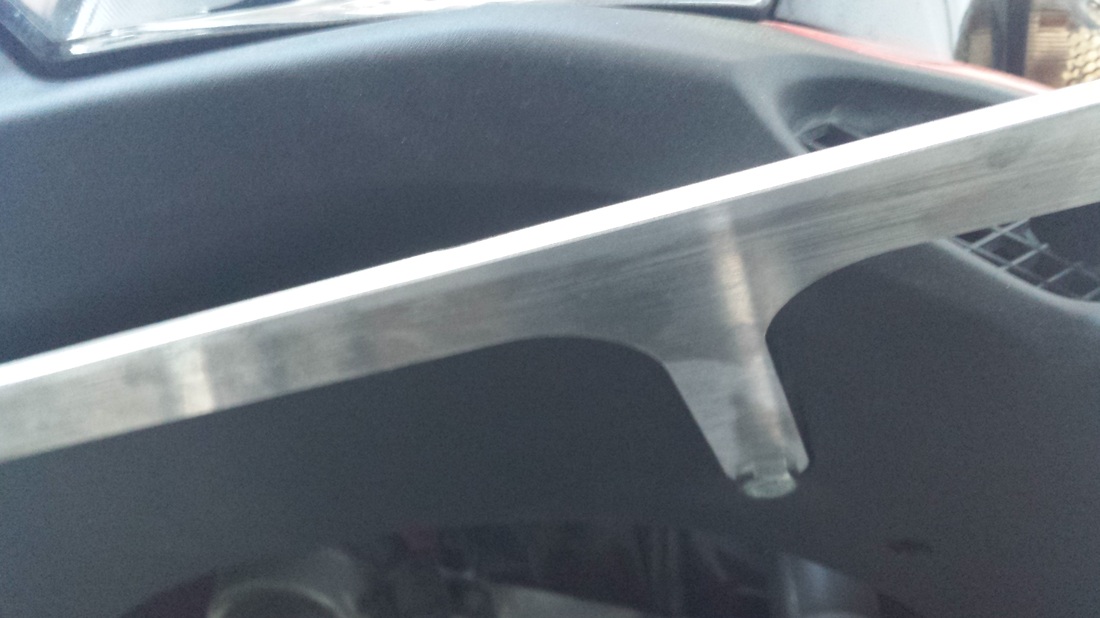
The following pictures show the lights and a light bar before powder coating. The light bar comes black. It's milled from a single piece of 1/4" thick 6061-T6 aircraft grade aluminum. It's quite robust.
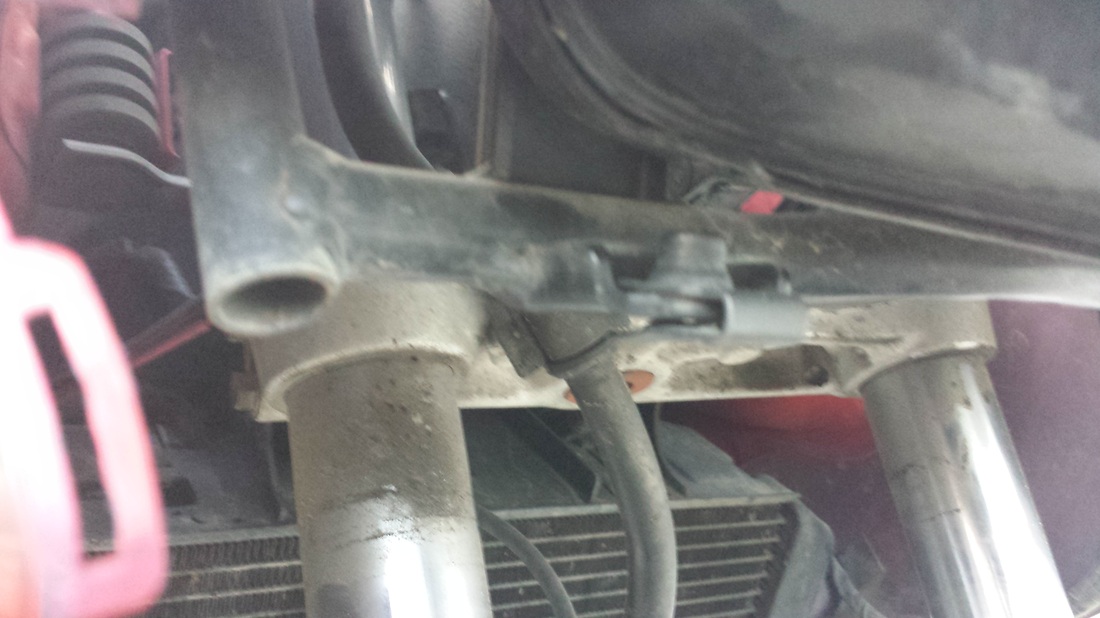
This is a picture showing where the light bar mounts behind the nose cowl. the supplied clip nuts are installed on existing tangs.
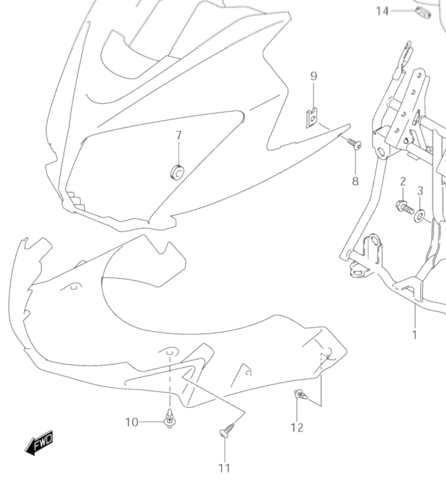
1. Remove push pins 10 and 12.
2. Remove screws 11.
3. Remove cowl.
4. Locate froward facing tangs on Bar 1.
1. Remove push pins 10 and 12.
2. Remove screws 11.
3. Remove cowl.
4. Locate froward facing tangs on Bar 1.
5. Slip "clip nuts" on tangs as shown in the photo below with the threaded portion on top..
6. Reinstall cowl, screws, and push pins 12.
7. using washer supplied, insert 8 mm bolt through the hole where push pin #10 existed into clip nut and tighten. Blue Locktite is suggested.
6. Reinstall cowl, screws, and push pins 12.
7. using washer supplied, insert 8 mm bolt through the hole where push pin #10 existed into clip nut and tighten. Blue Locktite is suggested.


