FJ-09 Light Bar Installation
|
|
It is suggested that you read all the instructions here and watch the video before starting installation.
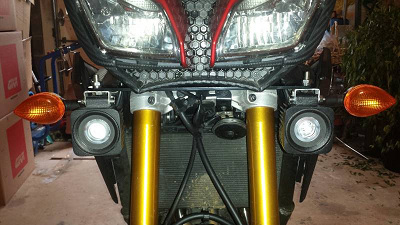
The light bar attaches to tangs on either side of the steering column behind the headlights. The first step is to remove the fascia on top of the tank and the side cowls.
The light bar attaches to tangs on either side of the steering column behind the headlights. The first step is to remove the fascia on top of the tank and the side cowls.
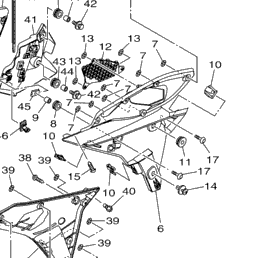
Don't let the complexity of the above picture intimidate you. It's just a matter of removing some twist locks, push pins, and phillips screws. The trick is keeping the fitting connectors straight so they go back in the same place. See video below for tips.
This is the mounting point for the light bar on the left side.
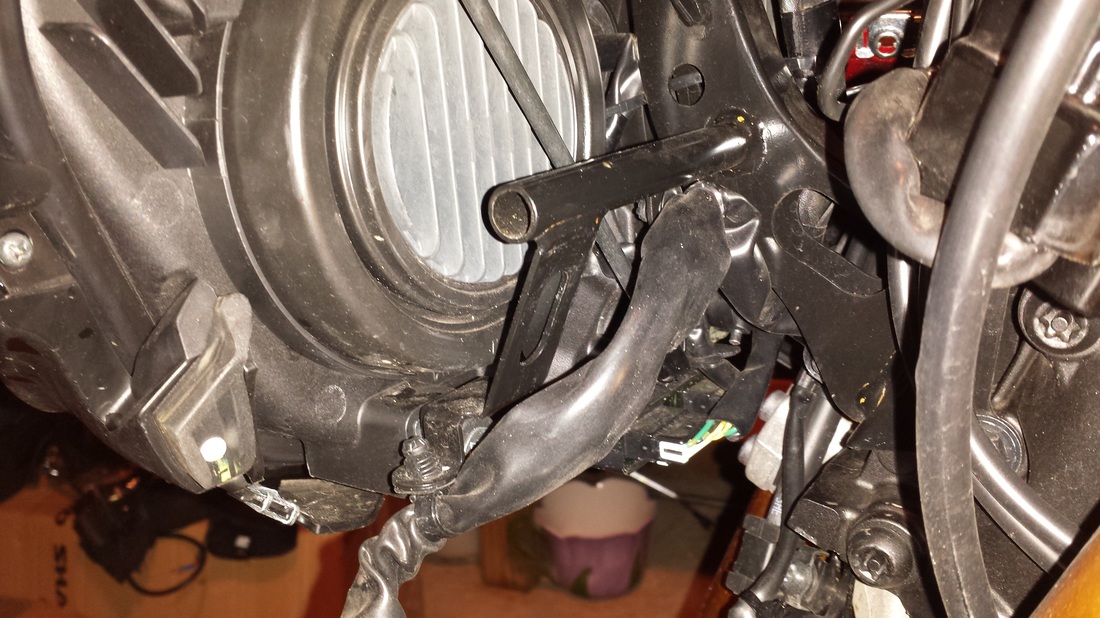
Right side mounting point shown here.
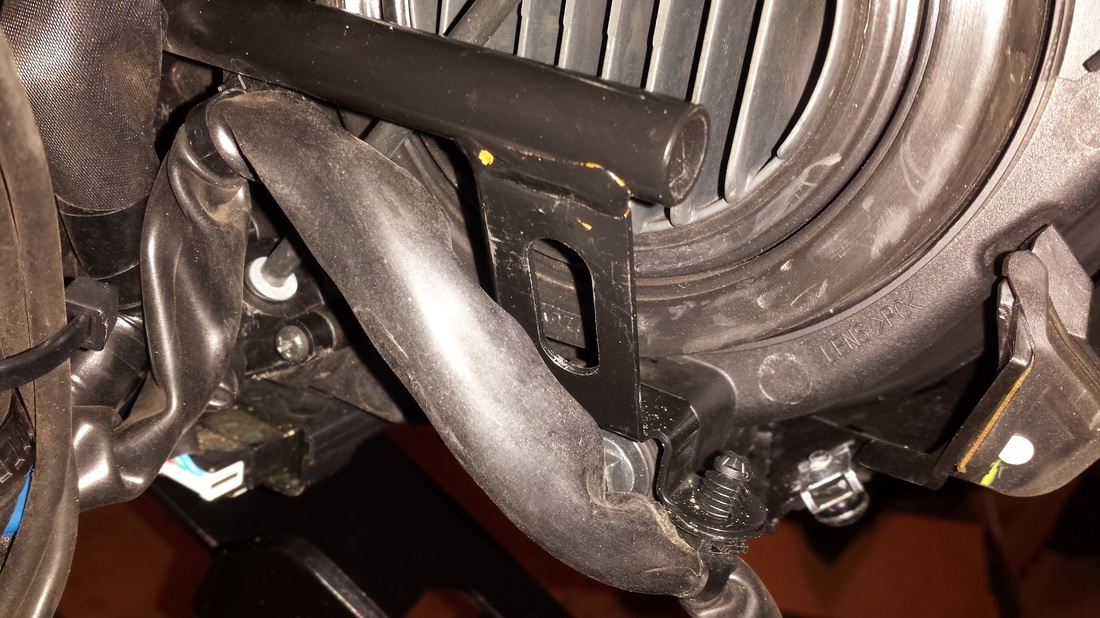
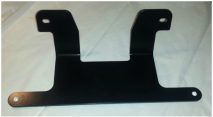
The light bar attaches to the tangs using the 8mm bolts. A washer (supplied) is placed under the bolt head and the bolt enters the tang from the front. The light bar goes between the tang and the wiring harness. Another washer is placed on both as it exits the light bar and a nylock nut (also supplied) is installed to hold the assembly. Loosely tighten one side, then the other before fully tightening.