D1000 Rear Wheel Spacer Modification Instructions
Here are some pictures to help everybody understand what's involved.
Depending on your mechanical skills this job takes between 30 and 45 minutes. You need to be able to support the bike with the rear wheel removed. So a centerstand or lift is needed.
Follow Suzuki's manual instructions for torque values, alignment, etc. This is just an overview.
Depending on your mechanical skills this job takes between 30 and 45 minutes. You need to be able to support the bike with the rear wheel removed. So a centerstand or lift is needed.
Follow Suzuki's manual instructions for torque values, alignment, etc. This is just an overview.
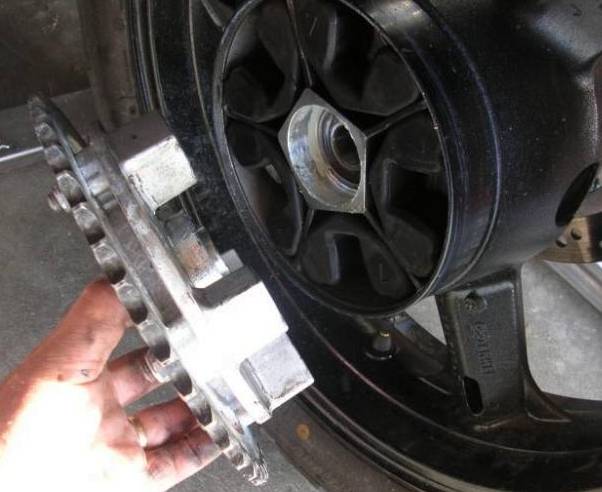
Remove rear wheel from Swingarm

The rear wheel just as it is slid out of the swingarm. The left side spacer can be seen sitting in the seal.
Remove Left Spacer
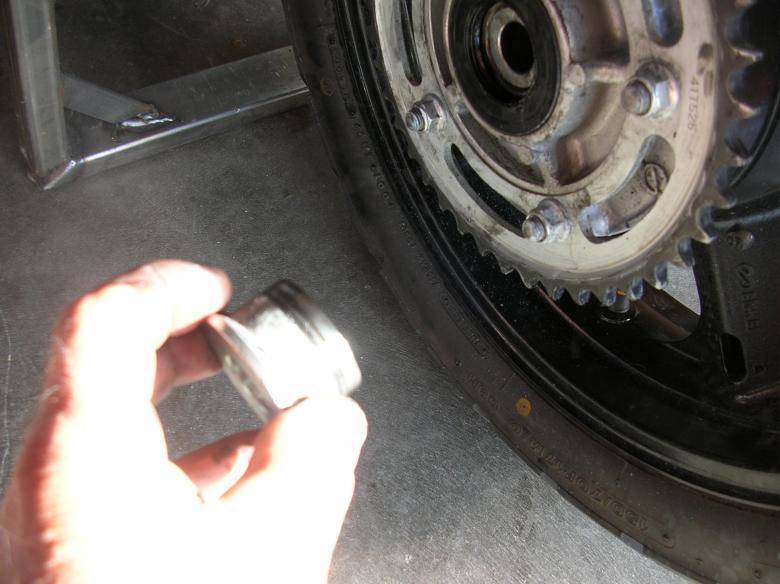
Here the left spacer has been removed by hand, no tools needed.
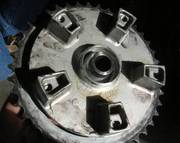
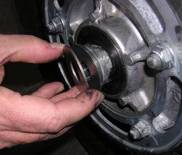
Remove Sprocket Drum
This piece is called the rear sprocket drum. It also comes out by hand, no tools needed. Inside the wheel you can see the black rubber cushions Peter talks about in a message below. This bike had 2,900 miles on it. It took a little one handed tug to remove the drum.
Remove Sprocket Drum Retainer (inside spacer)
Inside the rear sprocket drum is the rear sprocket drum retainer. This is what has often been refered to as the rigth spacer. Actually the right wheel spacer is the piece between the right side of the wheel and the brake support arm on the right hand side. The right wheel as defined by Suzuki spacer is unaffected by this modification
Note Oreintation of Sprocket Drum Retainer
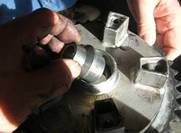
Here you see the rear sprocket drum retainer removed by hand, no tools needed. Note the orientation of the spacer (oops, I mean "rear sprocket drum retainer").
Many spacers coming into the pool show signs of having been installed backwards. Apparently it will go together wrong, so watch the orientation. The bearing inside the sprocket drum rides on the cylindrical end, not the conical end.
Many spacers coming into the pool show signs of having been installed backwards. Apparently it will go together wrong, so watch the orientation. The bearing inside the sprocket drum rides on the cylindrical end, not the conical end.
Please check out this link concerning at least some model years of DL1000. If you look at the center collar the retainer/spacer is being pulled out of...on the outside lower edge of this collar where it blends with flat plate...there is a slightly raised surface. On at least some DL1000s this surface may need to be turned flush on a lathe. A 10" lathe is plenty big enough to handle the sprocket drum with the sprocket still installed.
Reasemble with Modified Parts
After replacing the sprocket drum retainer (spacer) with the modified -2mm version, reasemble the parts and add the new +2mm stainless steel spacer (new spacer that looks like a washer) to the outside of the left hand wheel spacer.
Finished View

Here it is all put back together. Note the washer like spacer between the left wheel spacer and the swingarm. You may not be able to see it clearly in this picture, but the chain is now cenetered on the sprocket.